Table Of Content
- Ingredients
- Equipment Needed
- Instructions
- Tips for Perfectly Crispy Pork Belly
- Variations and Additions
- Conclusion
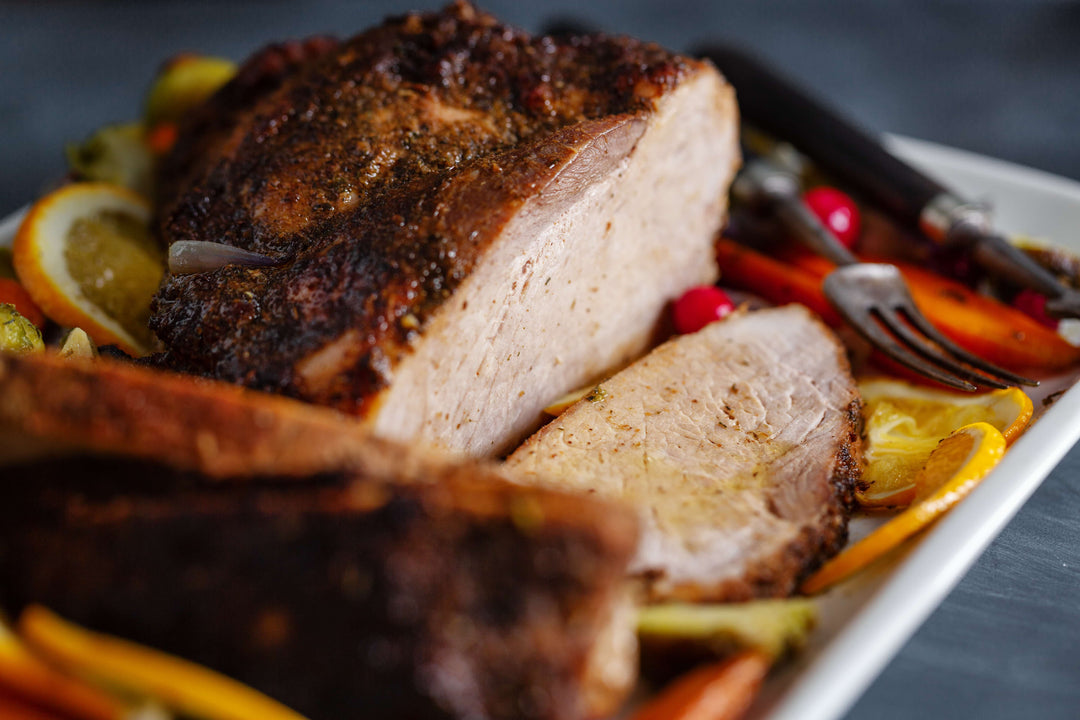
There’s nothing quite like the satisfying crunch of perfectly roasted pork belly. When done right, the combination of tender meat and crispy skin makes for an irresistible dish. This guide will show you how to make crispy pork belly using a simple oven-roasting method that anyone can master. Whether you’re cooking for a family meal or want to impress guests, this recipe is easy to follow and guarantees delicious results.
With just a few ingredients and some basic equipment, you can create a dish that looks like it came from a restaurant. We’ll guide you through each step, from seasoning the meat to achieving that perfect crackling crust. To cook the most delicious pork belly, you'll need the best quality fresh pork belly, and we’ve got the finest selection for you! Ready to get started? Let’s dive into the details for making the ultimate crispy pork belly at home!
Ingredients
For this recipe, you’ll need just a handful of ingredients to bring out the flavors in the pork belly:
-
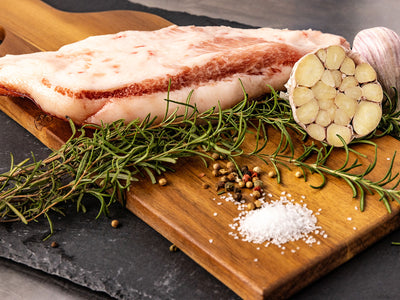
2 lbs Pork Belly (skin-on for maximum crispiness)
-
1 tbsp Salt
-
1 tsp Black Pepper
-
1 tsp Garlic Powder
-
1 tsp Paprika (optional for color and extra flavor)
-
2 tbsp Olive Oil
-
1 tbsp White Vinegar (helps the skin crisp up)
Feel free to adjust the seasonings to suit your taste. If you love a strong garlic flavor, add a little more garlic powder, or try using a mix of herbs like rosemary and thyme for a different twist.
Equipment Needed
Having the right tools makes cooking smoother and helps you achieve the best results. Here’s what you’ll need:
-
Sharp Knife: For scoring the pork belly skin, key to getting a crispy texture.
-
Roasting Pan or Baking Tray: Choose one with a rack to keep the pork elevated.
-
Aluminum Foil or Parchment Paper: Helps keep the pan clean and prevents sticking.
-
Paper Towels: Essential for drying the skin thoroughly before seasoning.
-
Meat Thermometer: Ensures the pork belly is cooked through without overcooking.
-
Basting Brush: Useful for evenly applying oil and vinegar to the pork skin.
These simple tools are all you need to make your pork belly turn out perfectly crispy every time. Make sure to have them on hand before you start cooking!
Instructions
1. Prepare the Pork Belly
-
Choosing and Preparing the Pork Belly:
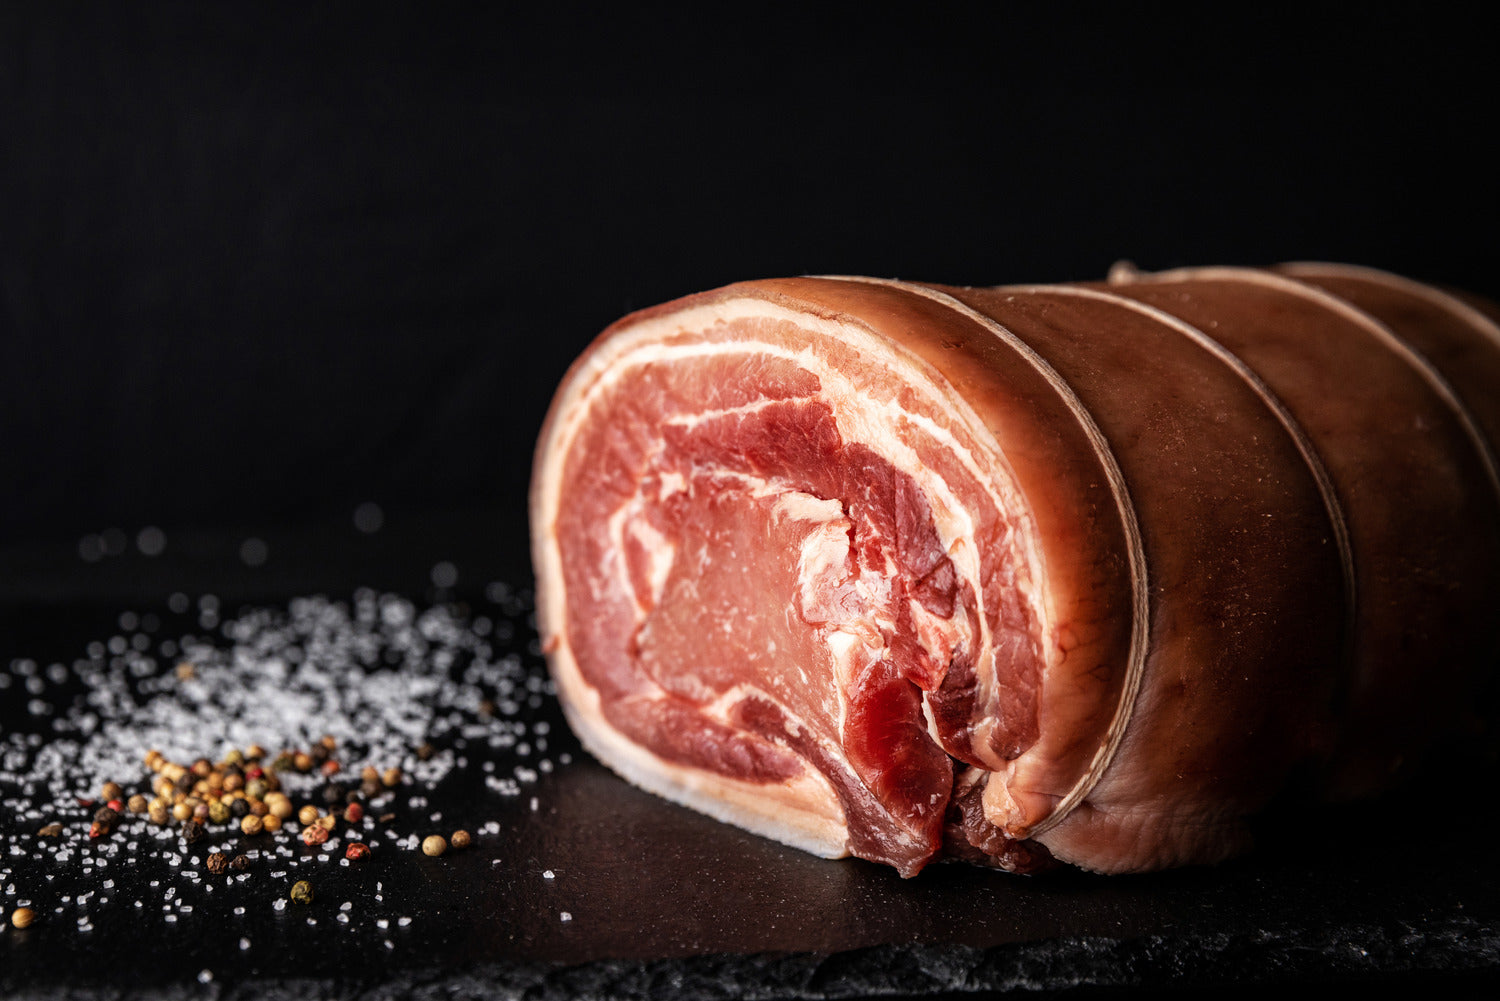
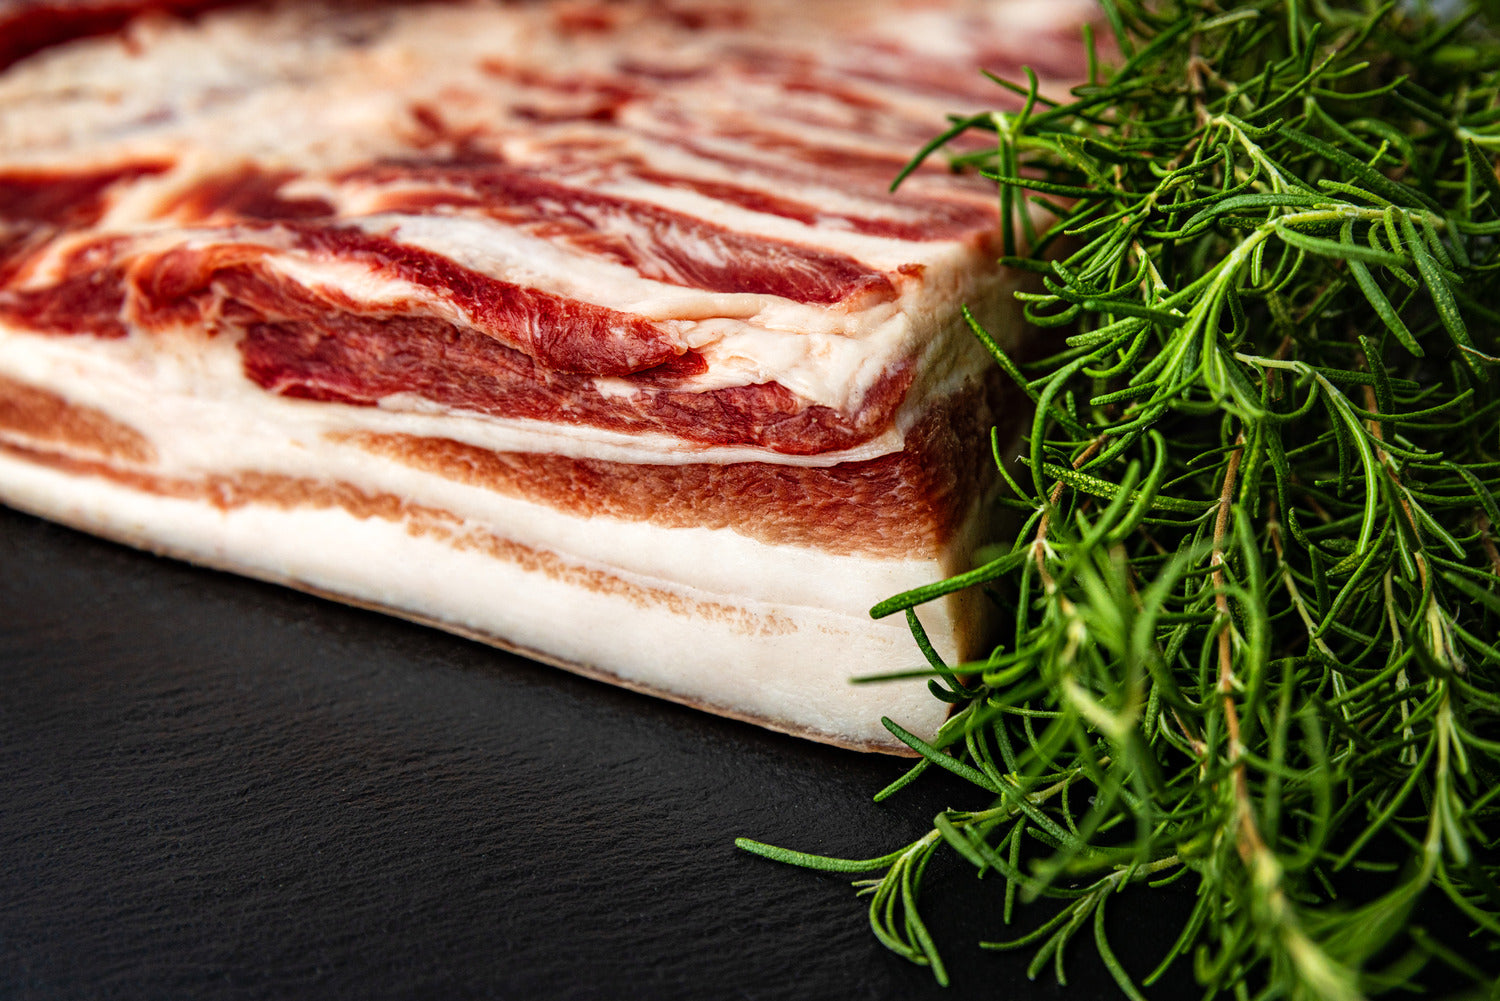
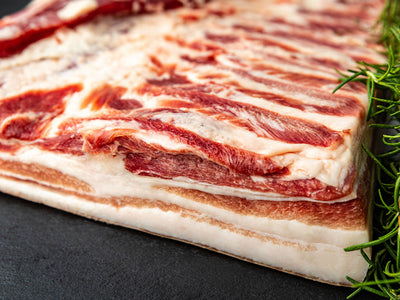
Choose a pork belly with an even layer of fat and skin. If you can, buy it with the skin on, which makes it so crispy. Before you start, pat the pork belly dry with paper towels. This step is crucial for getting the skin to crisp up. -
Scoring the Skin:
Using a sharp knife, make shallow cuts across the skin. Be careful not to cut too deep into the meat. The cuts should be about ½ inch apart. This helps the fat render out, making the skin crispy. Alternatively, ask your butcher to score it for you. -
Seasoning the Meat and Skin:
Rub the meat side with salt, pepper, garlic powder, and paprika. For the skin, brush on a little olive oil and sprinkle it generously with salt. Ensure the salt gets into the scored cuts, which helps draw out moisture for extra crispiness.
2. Preheat the Oven
-
Setting the Temperature for Roasting:
Preheat your oven to 450°F (230°C). This high initial temperature is key for getting the skin to puff up and become crispy. Place the pork belly on a rack in a roasting pan. If you don’t have a rack, prop it up using rolled-up foil to keep it elevated. -
Tips for Ensuring Even Cooking:
Ensure the pork is centered in the oven and not too close to the heat source. An even heat distribution helps the pork cook uniformly, preventing some areas from becoming too dry while others remain undercooked.
3. Roasting the Pork Belly
-
Adjusting Oven Settings if Necessary:
Roast at 450°F for 25-30 minutes, or until the skin starts to blister and crackle. Then, reduce the temperature to 325°F (160°C) and roast for an additional 1 to 1.5 hours. Keep an eye on the skin; if it browns too quickly, cover it lightly with foil. -
Timing and Temperature for Crispy Skin:
The pork belly is done when it reaches an internal temperature of 160°F (71°C). You can switch to the broiler for extra crispness for the last 5-10 minutes. Just watch closely to avoid burning.
4. Resting and Serving
-
Tips for Slicing and Serving:
Let the pork belly rest for 10-15 minutes before slicing. This allows the juices to settle and makes it easier to cut. Use a sharp knife to slice through the crispy skin without crushing it. -
Suggested Side Dishes and Sauces:
Serve with creamy mashed potatoes, sautéed greens, or a light coleslaw. Try apple chutney, mustard, or a tangy balsamic glaze for sauces.
Tips for Perfectly Crispy Pork Belly
-
Ensuring the Skin is Dry:
Dry skin is essential for crispiness. Pat it dry with paper towels and, if possible, leave it uncovered in the fridge for a few hours to remove extra moisture. -
The Role of Salt in Crisping the Skin:
Salt draws moisture from the skin, helping it become crunchy. For the best results, rub salt into the scored cuts. -
Importance of a High Initial Temperature:
Start roasting at a high temperature (450°F) to puff up the skin, then lower the heat to cook the meat evenly. -
Avoiding Common Mistakes:
Don’t overcrowd the pan—air circulation is key. Also, avoid covering the skin during the initial high-heat phase, as this can trap steam and soften it.
Variations and Additions
Adding a few twists to your crispy pork belly can elevate the flavors and make it even more delicious. Here are some ideas to try:- Glazes and Marinades: For a sweet and savory kick, brush the pork belly with a honey-soy glaze or a mix of balsamic vinegar and brown sugar during the last 15 minutes of roasting. For an Asian-inspired flavor, you can also marinate the meat overnight in garlic, soy sauce, and ginger.
- Alternative Seasonings: While the classic salt and pepper combo works great, try experimenting with different herbs and spices. Add rosemary, thyme, or sage to the rub for a herby flavor. A touch of chili powder or cayenne pepper will add a nice heat.
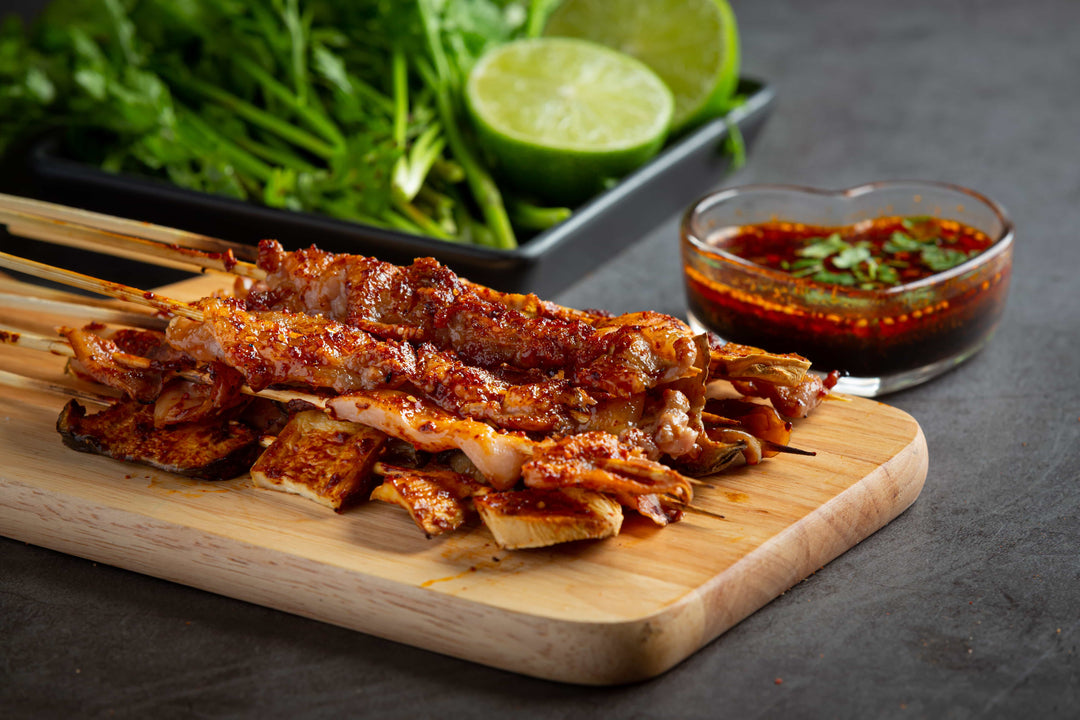
- Serving Suggestions: Serve crispy pork belly with roasted vegetables, creamy mashed potatoes, or even a sandwich with coleslaw. It’s also perfect as a topping for ramen or salads.
Conclusion
Mastering crispy pork belly at home is easier than you might think. With a few simple steps, you can achieve tender meat and irresistible, crackling skin. Remember to keep the skin dry, use plenty of salt, and start with high heat. Want to enjoy this dish without the effort? Red Field Ranch offers high-quality pork products that are perfect for home cooking.Ready to create your pork belly masterpiece? Try Red Field Ranch’s premium cuts and make your next meal a hit!
Frequently Asked Questions
Scoring the skin allows the fat to render out and helps the heat penetrate evenly. This results in that signature crispy texture. It also ensures that the seasonings and salt get into the deeper layers for more flavor.
If the skin isn’t getting crispy, try increasing the oven temperature to 450°F for 10-15 minutes, or switch to the broiler. Ensure the skin is dry and you’ve used enough salt, as moisture can prevent crisping.
Slow roasting at a lower temperature after the initial high-heat blast keeps the meat tender. Letting the pork rest after cooking also allows the juices to redistribute, making it juicy and flavorful.
Absolutely! Feel free to use any seasoning mix you like. Try using Chinese five-spice for an Asian twist, or add smoked paprika for a deeper flavor. The seasoning can be adjusted based on your preference.
Store leftovers in an airtight container in the fridge for up to 3 days. To reheat, place it in a 350°F oven for 10-15 minutes to restore the crispiness without drying the meat.
